
Peel-and-Stick Wallpaper for Beginners: Your First Panel, Explained
Wallpaper guides · Installation
A careful first panel makes the rest of the wall easier to plan. Understand the sequence, keep the backing under control, and let the product instructions decide the details that vary between materials.
Prepare the instructions as well as the tools.
Open the installation sheet for the actual wallpaper material. Find the approved surface, preparation requirements, trimming allowance, seam method and any repositioning limits. If those are missing, request them before beginning. A tutorial for another brand should not fill in an unknown specification.
Arrange the tools recommended for that material: commonly a tape measure, pencil, level, suitable smoother, straightedge and cutting equipment. Choose a safe working position and get help handling a long panel if needed. Keep the wall clear enough to align the sheet without it catching on furniture.
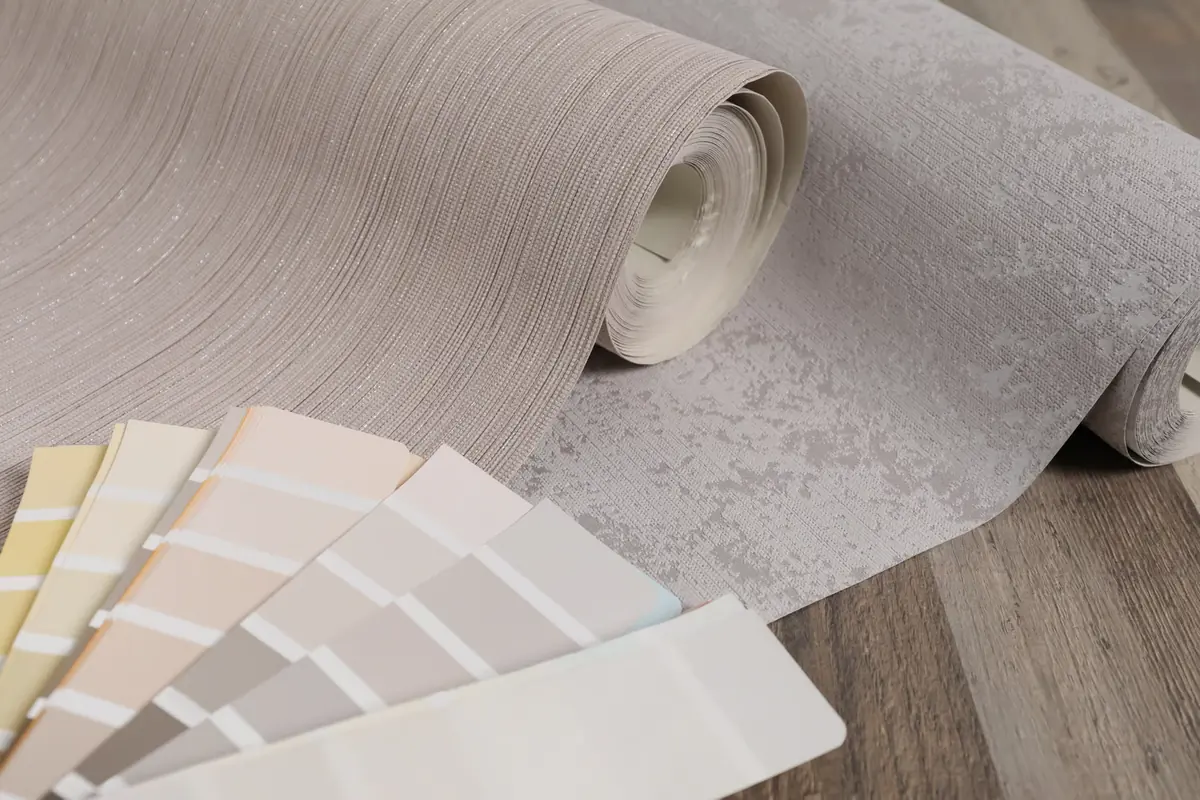
Read the whole sequence before exposing adhesive. For custom mural panels, confirm the panel order and the approved proof. For repeats, check the match between adjoining lengths before making irreversible cuts.
Give the first panel a trustworthy vertical reference.
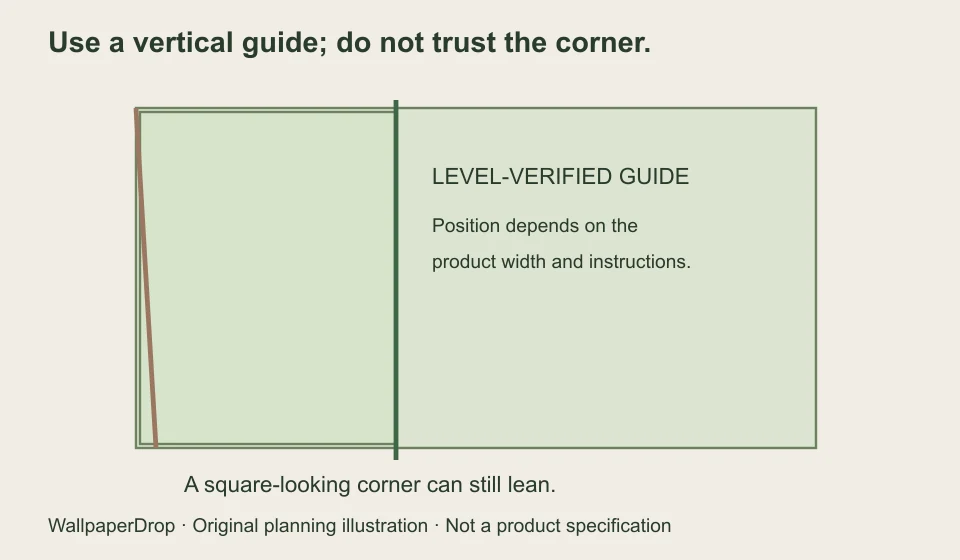
Use a level or the approved equivalent to establish the guide position specified by the manufacturer. It is often related to the paper width, but a corner allowance or overlap can change the exact offset. Do not reuse an offset from a different roll.
The goal is to keep the first panel aligned independently of a leaning corner. Check the reference from top to bottom. If a large feature or mural subject must be centered, resolve the overall layout before choosing the starting position.
Expose only the backing you can control.
Follow the product’s recommended handling method. Support the sheet, keep the unneeded adhesive covered, and align the first portion with the guide and required allowance. For a product approved for repositioning, correct the position using its instructions rather than pulling or stretching the sheet into place.
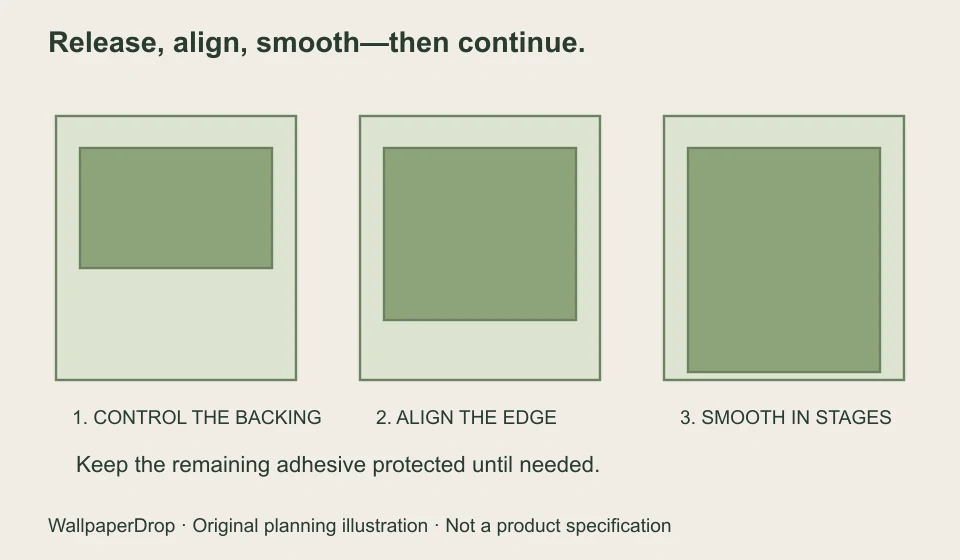
Smooth in the direction and with the pressure recommended for the material, releasing more backing as you progress. Pause to inspect alignment and contact. If debris is trapped, the coating lifts, or the panel no longer responds as expected, stop and consult the material instructions instead of forcing the next step.
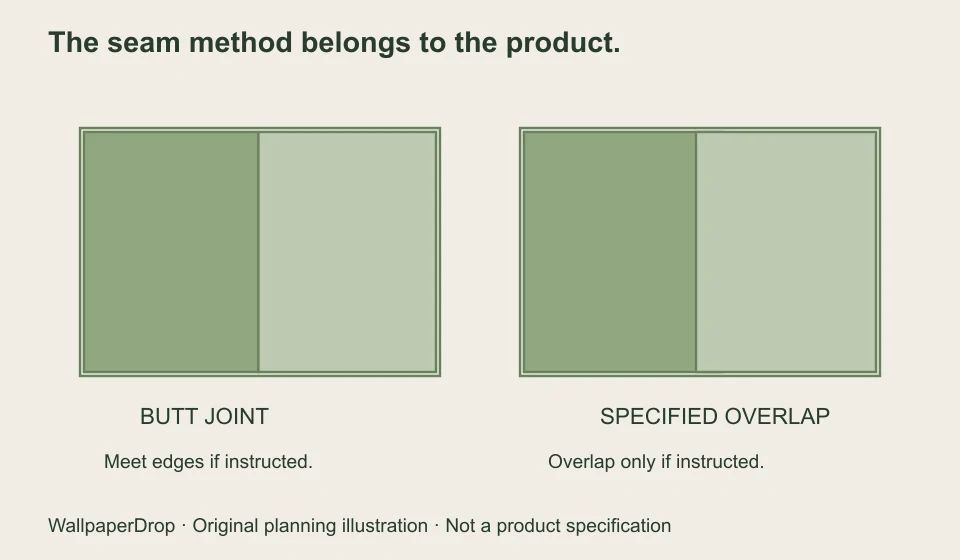
Let the product decide whether edges meet or overlap.
Some instructions specify meeting edges; others specify an overlap. These methods are not interchangeable. Check the next panel against the first, including the motif match, before smoothing it fully.
Do not turn a stretched first panel into a reference for the whole wall. A recurring mismatch is a reason to review the starting alignment, the repeat, the panel order and the product instructions.
Track the sequence without hiding the instructions.
The tracker keeps your place. All steps remain readable, and the tool does not determine whether the wallpaper is installed correctly.
Keep your place in the installation
Checks recorded: none yet.
Trim and finish only when the layout is right.
Use the product’s specified trimming and finishing method and appropriate cutting equipment. Protect the underlying surface and follow the tool’s safety directions. Do not improvise work around energized outlets or switches; use appropriate professional help where needed.
Check the wall from close up and from the room’s normal viewing positions. Look for alignment, motif continuity, visible gaps, lifting and trapped debris. Record the exact design/material, panel arrangement and care instructions so future questions can be answered against the right product.
Three beginner mistakes to avoid
- Trusting the corner: verify the vertical reference instead.
- Removing too much backing: use the product’s controlled handling sequence.
- Borrowing another brand’s seam rule: confirm the instructions for your material.
Before hanging your WallpaperDrop design
Read our installation preparation checklist and material comparison. The peel-and-stick option is self-adhesive fabric; use the supplied material-specific method for seams, backing release and trimming.